Ah, breakfast cookies—my unexpected morning heroes! They’re like a hug in food form, packed with all the good stuff (think oats, nuts, maybe a sprinkle of dark chocolate if I’m feeling cheeky). Imagine the aroma of freshly baked goodness wafting through your kitchen, a gentle nudge to start your day on a seriously delicious note.
Steps
- Preheat your oven to 325°F (163°C) and prepare two large baking sheets by lining them with parchment paper or silicone mats. Set them aside for later use.
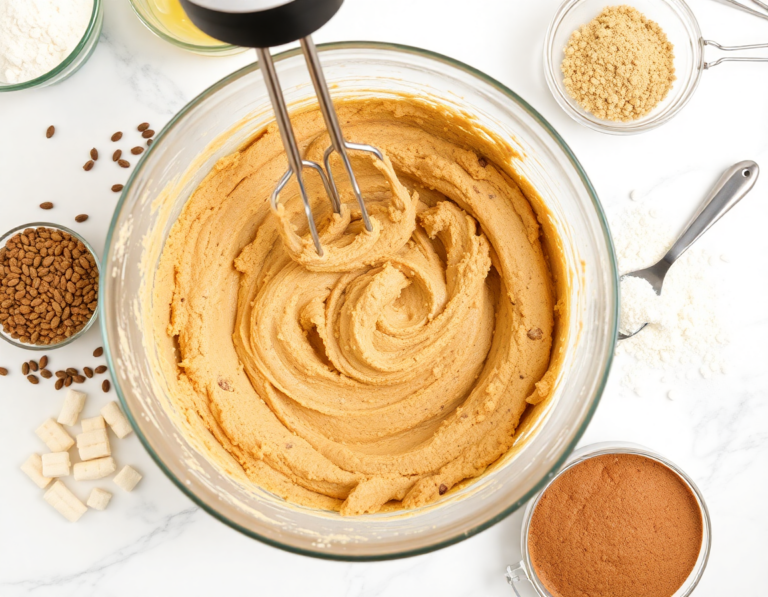
- In a large mixing bowl, combine all the ingredients using a stand mixer or hand mixer until everything is well mixed and a thick dough forms.
- Measure out 1/4 cup portions of cookie dough and place them onto the prepared baking sheets. Use the back of a spoon to gently flatten each portion into a cookie shape since they won’t spread during baking.
- Bake the cookies for 16-19 minutes or until the edges are lightly browned. Allow them to cool on the baking sheets for 10 minutes before transferring them to a wire rack to cool completely.
- Store any leftover cookies in an airtight container at room temperature for up to five days or refrigerate them for up to 10 days. For longer storage, you can freeze the cookies for up to three months.
Ingredients
- 2 cups (170g) quick oats or old-fashioned whole rolled oats
- 1/2 teaspoon salt
- 1 teaspoon ground cinnamon
- 1 cup (250g) almond butter, peanut butter, or sunflower seed butter
- 1/4 cup (60ml) pure maple syrup or honey
- 1/3 cup (60g) apple butter or unsweetened applesauce
- 1/2 cup (115g) mashed banana (approximately 1 large banana)
- 1/2 cup (75g) dried cranberries
- 1/2 cup (70g) pepitas (pumpkin seeds)
- 1/2 cup (75g) raisins
- Optional: 1/4 cup (28g) ground flaxseed
FAQ
- Can I use frozen bananas in this recipe?
- Yes, you can use thawed frozen bananas. Make sure to drain off any excess liquid after thawing, as this liquid can affect the consistency of the cookies.
- What are some substitution ideas for these cookies?
- This recipe is quite flexible. You can substitute almond butter with peanut butter or sunflower seed butter. You can replace apple butter with unsweetened applesauce. For sweetening, you can use honey instead of maple syrup, though this will make the cookies non-vegan.
- Can these cookies be turned into lactation cookies?
- Absolutely! Add 3 tablespoons of brewer’s yeast and 2 tablespoons of milk to the recipe. This addition works well for lactation and doesn’t alter the baking time.
- How can I store and freeze these cookies?
- You can store the cookies in an airtight container at room temperature for up to 5 days or in the refrigerator for up to 10 days. For longer storage, freeze the cooled cookies in an airtight container for up to 3 months. Thaw them at room temperature or warm them briefly in the microwave before serving.
- Are these breakfast cookies gluten-free?
- These cookies can be gluten-free if you use certified gluten-free oats. Both quick oats and whole rolled oats will work without affecting the outcome.
Tips
- Flatten Before Baking: Slightly press down on the tops of the cookie dough mounds with the back of a spoon before baking. This helps shape the cookies into discs since they won’t spread on their own during baking.
- Monitor Baking Time Visually: Instead of relying solely on a timer, keep an eye on the cookies as they bake. They’re done when the edges turn a light golden brown, which typically takes about 15-18 minutes.
- Optimize Banana Texture: If you’re using frozen bananas, ensure to drain off any extra liquid after thawing. This prevents the wet ingredients from being thrown off balance and affecting the final texture of your cookies.
- Freeze for Later: These cookies freeze well, so consider making a double batch. Once cooled, store them in an airtight container or a zip-top bag and freeze for up to three months for a quick, healthy breakfast or snack option.
Equipment
- Silicone Baking Mats or Parchment Paper – These are used to line baking sheets and prevent sticking.
- Stand Mixer or Hand Mixer – While you can mix manually, a mixer is suggested for ease.
- Cooling Rack – Useful for cooling the cookies evenly after baking.