Ever since my last visit to a bustling summer street fair, where the air was thick with the intoxicating aroma of caramelized onions from a nearby food stall, I’ve been obsessed. There’s something magical about how a humble onion transforms—slowly, with patience—into a sweet, golden masterpiece. Perfect for topping burgers or adding depth to a comforting soup, this easy recipe promises to elevate your dishes with a rich, savory-sweet flavor that’s almost too good to be true.
Steps
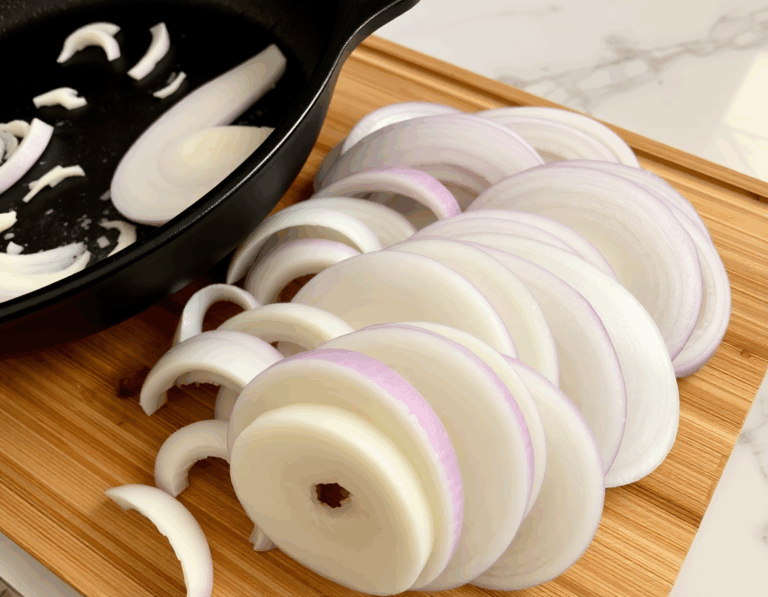
- Start by cutting the onions into even slices to ensure they cook uniformly. Separate the layers of the onions before adding them to the pan.
- Heat olive oil in a large cast-iron skillet over medium heat. Add the sliced onions and cook, stirring frequently, for 5 minutes until they begin to soften.
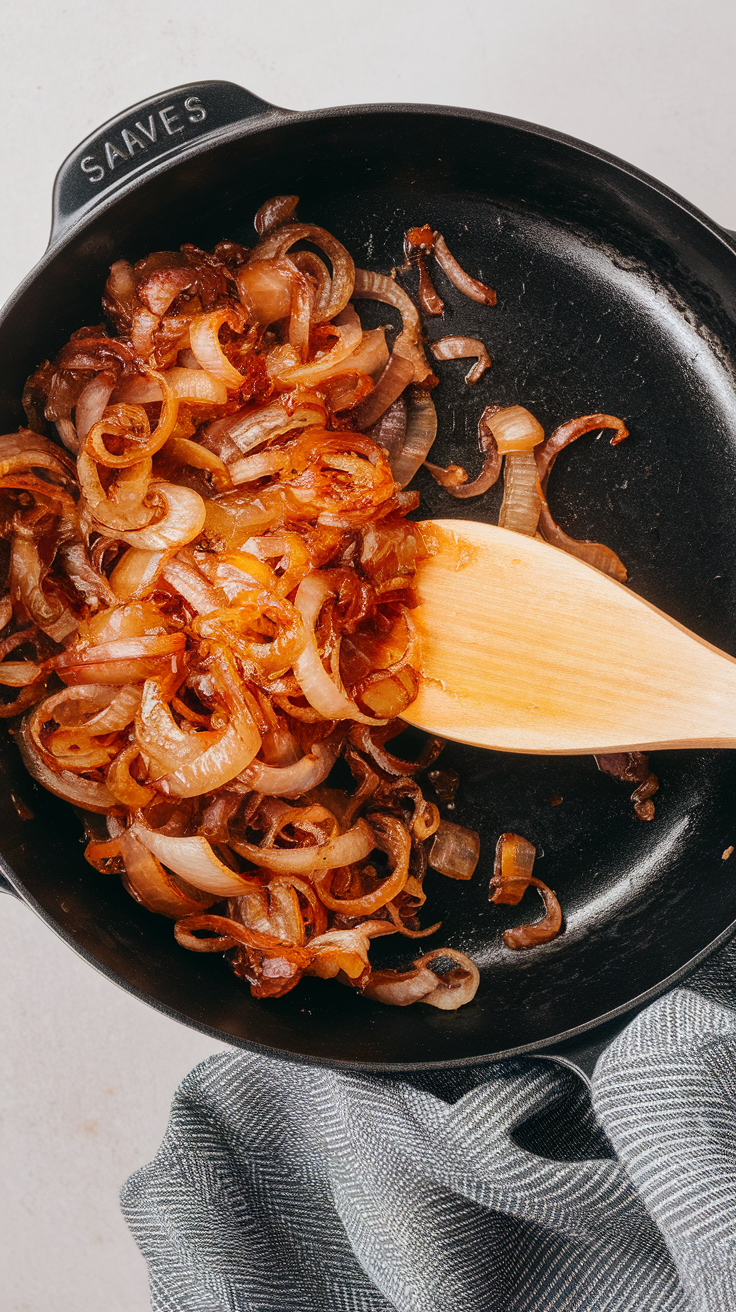
- Lower the heat to medium-low once the onions have softened. Continue cooking, stirring every few minutes, until they become soft and deeply brown, which should take 50 to 80 minutes.
- If the onions begin to stick to the pan or start burning, reduce the heat further or add a splash of water to the pan.
- For additional caramelization, increase the heat to medium towards the end of cooking. Stir constantly and scrape up any browned bits from the bottom of the pan before removing from heat.
Ingredients
- 4 medium-sized onions, thinly sliced
- 2 tablespoons olive oil
- A pinch of salt
FAQ
- How long does it take to caramelize onions?
- Caramelizing onions is a slow process that can take between 50 to 80 minutes. It’s important to cook them over low to medium-low heat to ensure they soften and develop a deep, golden brown color without burning.
- Can I freeze caramelized onions for later use?
- Yes, you can freeze caramelized onions. It’s a great idea to prepare a large batch and store them in airtight containers or ice cube trays. This way, you can easily thaw the amount you need for future recipes.
- What type of pan is best for caramelizing onions?
- A cast-iron skillet is recommended for caramelizing onions. It helps develop a flavorful fond on the bottom, which can be stirred into the onions for richer taste. Make sure the pan is large enough to allow moisture to evaporate as they cook.
- Why shouldn’t I rush the caramelization process?
- Trying to speed up the caramelization process by using high heat can cause the onions to burn before they properly soften and develop their signature flavor. Patience is key to achieving the rich, sweet taste that caramelized onions are known for.
- What are some dishes that benefit from caramelized onions?
- Caramelized onions add wonderful depth to a variety of dishes, such as French onion dip, French onion soup, burgers, sandwiches, omelets, pasta dishes, and pizzas. Their sweet and savory flavor enhances the complexity of many meals.
Tips
- Make a larger batch: Since caramelizing onions takes time, make a bigger batch to save for future use. Store them in an airtight container in the fridge for up to a week, or freeze them in ice cube trays for up to two months for easy portioning.
- Choose the right pan: Use a cast-iron skillet instead of a non-stick pan to develop a flavorful fond. A wide pan, like a 12-inch skillet for 4 onions or a 10-inch skillet for 3 onions, is ideal to allow moisture to evaporate effectively.
- Monitor the heat carefully: Start with low to medium-low heat to soften the onions without burning. Once they’re tender and brown, increase the heat to medium to enhance caramelization, stirring constantly to prevent sticking.
- Slice evenly: For consistent cooking, aim to slice onions evenly and separate the layers before adding them to the skillet.
Equipment
- Cast-Iron Skillet (12-inch or larger for 4 onions, 10-inch for 3 onions)