Ah, the tantalizing aroma of lemon and garlic—it’s like a symphony for the senses, isn’t it? This roasted chicken recipe is a masterpiece, a culinary journey that transforms your kitchen into a bustling hub of delicious anticipation. Last weekend, as I was juggling kids, errands, and an unexpected power outage, this recipe saved the day, proving once again that sometimes, simplicity is the most exquisite form of elegance.
Steps
- Position an oven rack in the center and preheat the oven to 425°F. Halve a lemon crosswise and remove any seeds you see.
- Slice a whole head of garlic in half horizontally. Don’t worry if it doesn’t stay intact.
- Melt half a stick of butter using a small pan on the stove or a bowl in the microwave.
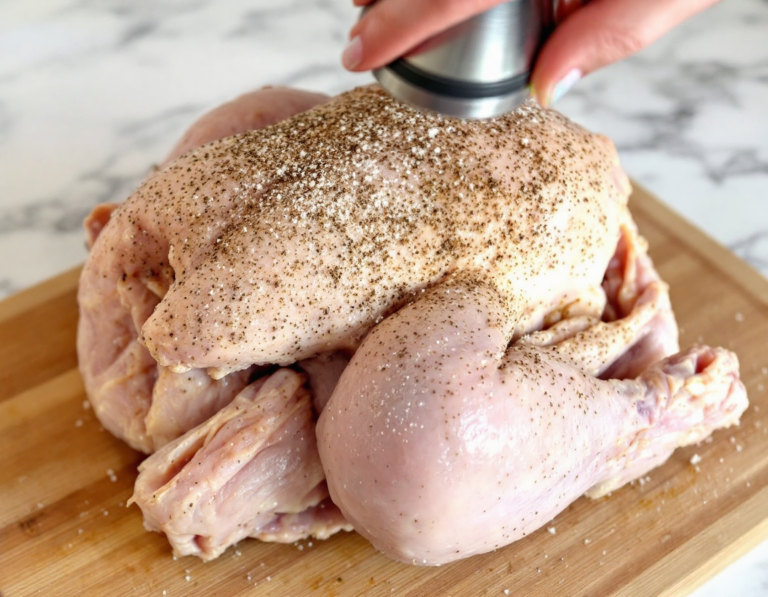
- Place a 3-4 pound whole chicken on a cutting board. Dry it thoroughly with paper towels to ensure good browning during roasting.
- With the chicken’s breast side up and legs towards you, make a 3-inch incision in the loose skin between the leg and breast. Continue cutting until you reach the joint, then repeat on the other side.
- Generously season the entire chicken, including the cavity and under the wings, with salt and pepper. You’ll need about four teaspoons of kosher salt for proper seasoning.
- Put the chicken breast side up in a large oven-safe skillet. Arrange the lemon and garlic halves around the chicken, cut sides down.
- Pour the melted butter over the chicken evenly and place the skillet in the oven.
- Roast the chicken until it is golden brown and cooked through, checking after 45 minutes. Use a knife to pierce the leg joints; if the juices are clear, it’s done. If not, continue roasting, checking every 5 minutes.
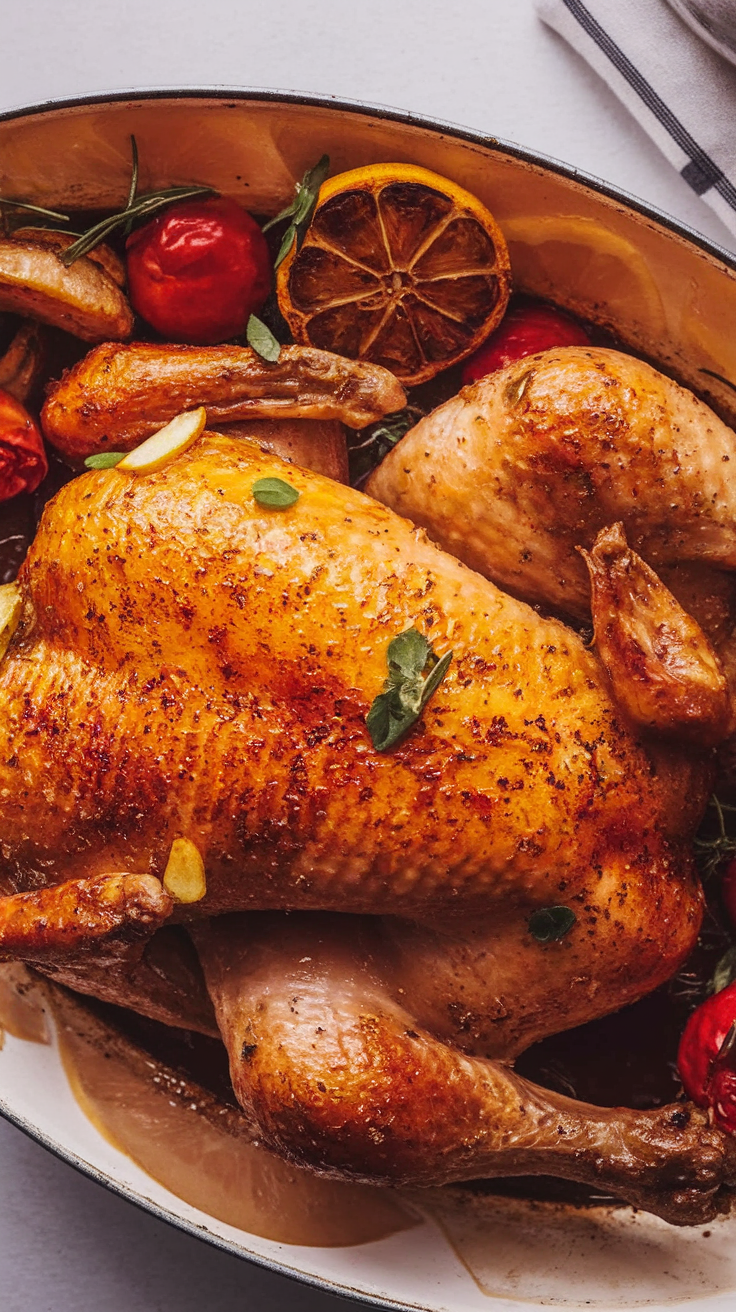
- Allow the chicken to rest in the skillet for at least 15 minutes before carving. This helps the juices settle. Transfer to a serving platter, pour the pan juices over it, and serve with the roasted lemon and garlic.
Ingredients
- 1 lemon, halved crosswise
- 1 head of garlic, halved crosswise
- ½ stick of butter, melted
- 1 whole chicken, weighing 3–4 lbs.
- 4–5 teaspoons kosher salt
- Freshly ground black pepper
FAQ
- What size chicken is best for roasting using this method?
- A 3-4 pound whole chicken is ideal for roasting with this method. If you go a bit larger, it might still work, but anything over 4½ pounds can lead to the breast meat drying out before the dark meat is fully cooked.
- Why is it important to dry the chicken thoroughly before roasting?
- Ensuring the chicken is as dry as possible helps with the browning process. Patting it dry with paper towels is crucial for achieving that desirable crispy skin.
- How do you check if the roast chicken is fully cooked?
- After about 45 minutes of roasting, remove the skillet from the oven and pierce the leg joints with a knife. If the juices run clear, the chicken is cooked; if they appear rosy pink, it needs more roasting. You can also shred some meat near the thigh bone to check if it looks opaque and separates easily.
- Why is letting the chicken rest important, and for how long should it rest?
- Allowing the chicken to rest for at least 15 minutes helps the juices redistribute within the meat, resulting in a juicier final dish. This cooling period also makes it easier to handle during carving.
- Can you suggest any tips for those nervous about carving the chicken?
- Watching a carving tutorial video can be helpful for those who are unsure about how to properly carve the chicken. This can provide visual guidance and boost confidence.
Tips
- Ensure the chicken is thoroughly dry before seasoning to enhance browning during roasting. Pat it down with paper towels for the best results.
- Opt for a chicken weighing between 3 to 4 pounds for ideal roasting. Larger birds may result in dry breast meat due to longer cooking times needed for the dark meat.
- Generously season the chicken with salt and pepper on all surfaces, including under the wings and in the cavity, to enhance flavor throughout.
- Allow the chicken to rest for at least 15 minutes after cooking. This helps the juices redistribute, ensuring moist and flavorful meat when served.
Equipment
- Oven-safe skillet – A large skillet that can withstand high temperatures in the oven.
- Meat thermometer – Optional, but useful for checking the doneness of the chicken.
- Plastic cutting board – Specifically useful if you want one that can be easily sterilized.
- Sharp knife – A high-quality chef’s knife for cutting the chicken and other ingredients.